1. LOG IN: Log in to your MacBook using username and password (do not include @cushmanschool.org in the username field)
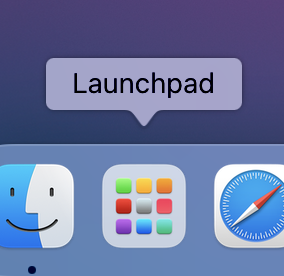
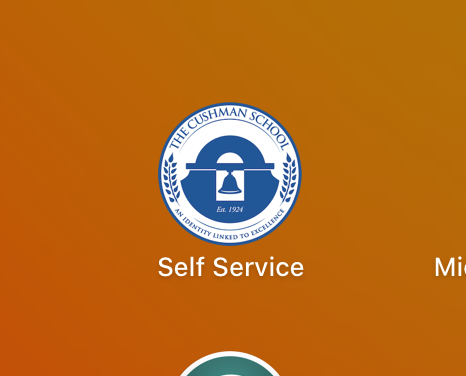
2. ACCESS SELF SERVICE: On your Dock (menu bar) at the bottom of your screen – locate the colorful tile icon called Launchpad. Click it to open. Once opened, find the application button with the Cushman Logo called Self Service, by scrolling from left to right. Click Self Service to open the application.
3. OUTLOOK: set it as the default mailing app on your MacBook.
Within the Self Service application window, there will be an Outlook update button titled: “Set Outlook as mailing app.” Click this button. It will run code to make Outlook your default mailing app on your MacBook.

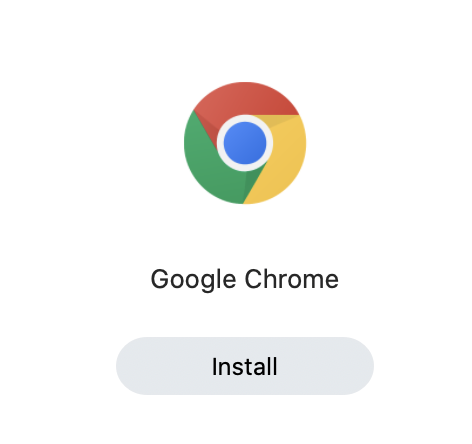
4. GOOGLE CHROME : check to see if Google Chrome is installed – if not install it!
Again, locate the colorful tile icon called Launchpad and check to see if the Chrome app is there. If not, then go to Self Service again if you closed it (refer to #2 if you forgot) – there will be an Install Google Chrome button on the featured page. Press Install. Once installed, open Google Chrome and sign in with your Cushman credentials.
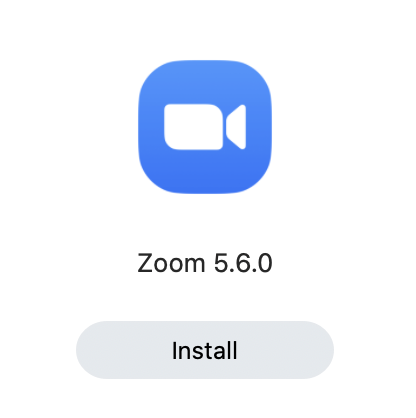
5. ZOOM : Check to see if Zoom is installed – if not install it!
While still in the launchpad check to see if the Zoom app is there. Again, if not go back to Self Service and install Zoom. Login to Zoom with your Cushman Google account.
6. SET UP CHROME : Open Google Chrome App. Located it in your launchpad (tile icon)
-You will be prompted with a browser screen “ Make Chrome your own”
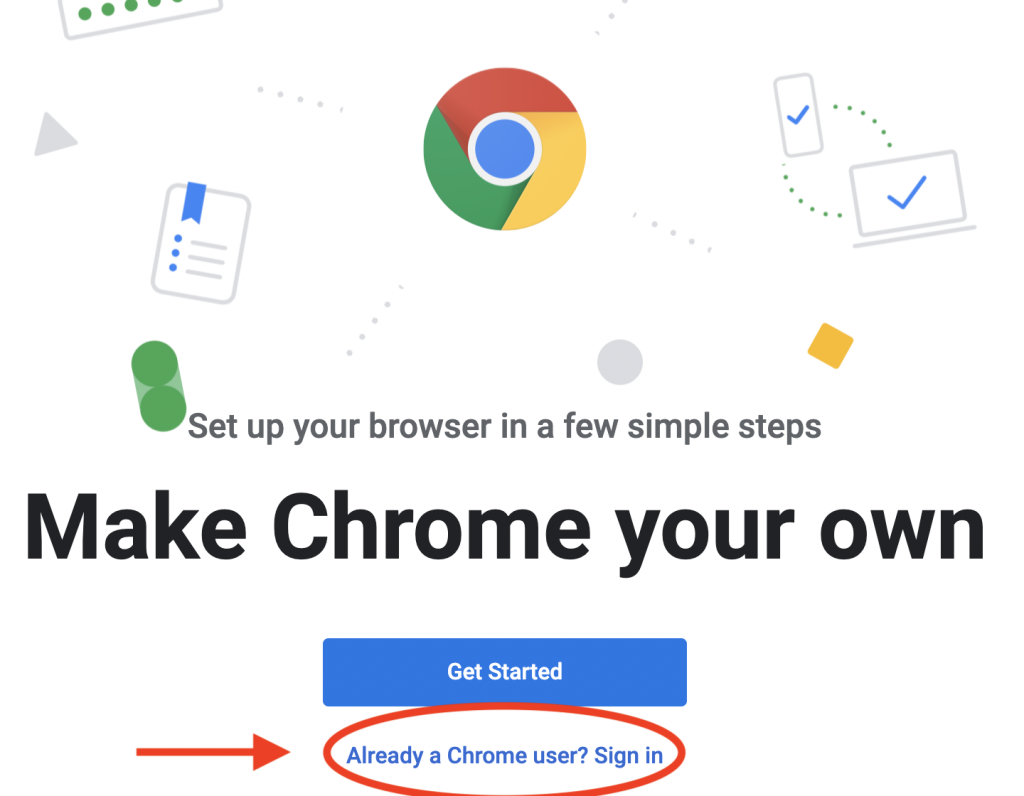
-Click “Already a chrome user? Sign in”
-Log in using your Cushman email address and password.
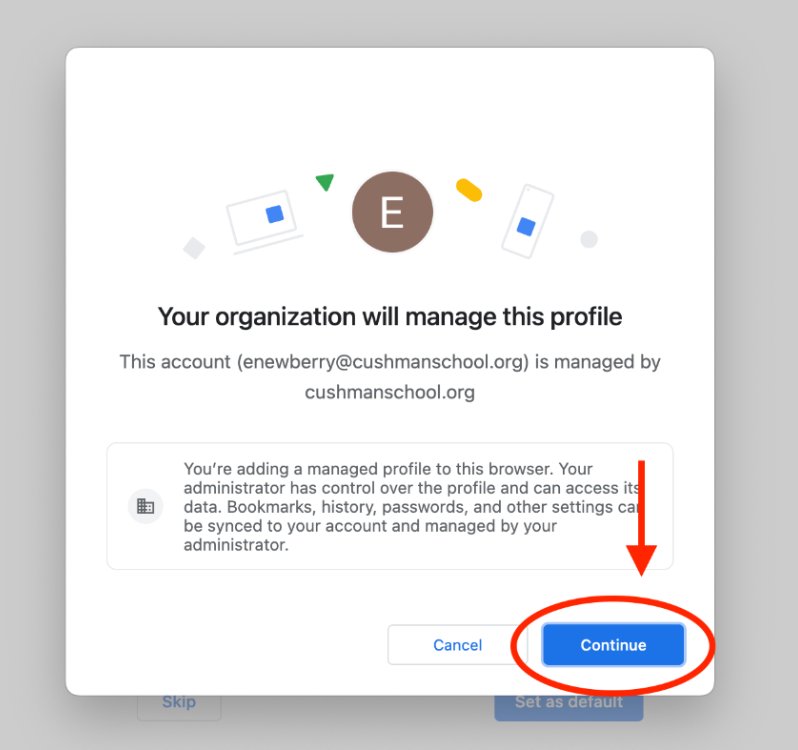
Click on ‘Continue’ when you see “Your organization will manage this profile”

Chrome will prompt you with the above dialogue box, asking if you would like to link your Chrome data to this account. Click ‘Yes, I’m In’ – this is imperative for your laptop to get the policies we assign to our Cushman devices.
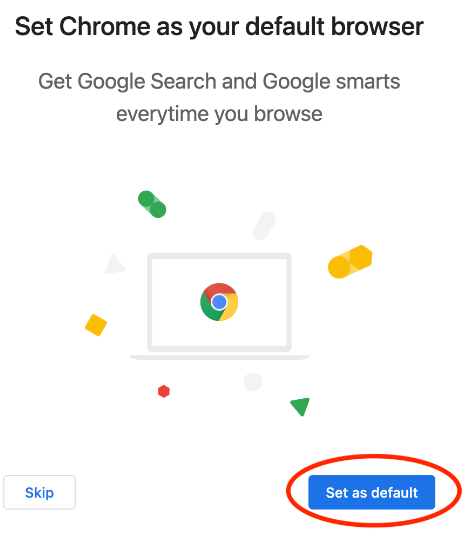
You will be prompted with a dialogue box confirming if you would like to change your default web browser to “Chrome.” Click ‘Set as default’.

You will be prompted again to confirm that you want to use Chrome. Click Use “Chrome”
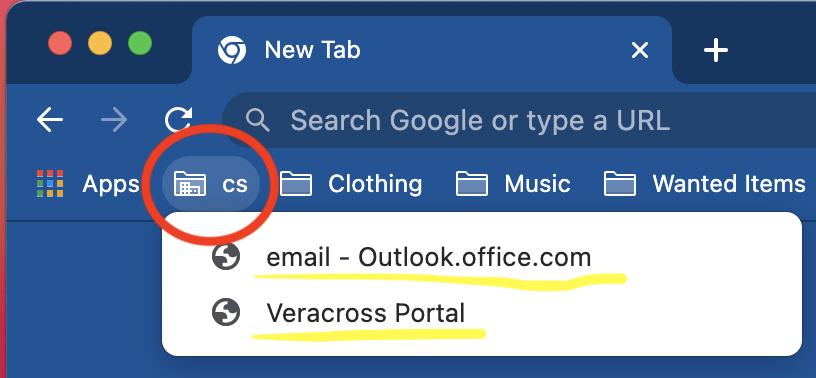
7. CS BOOKMARKS FOLDER: shortcuts to your e-mail and Veracross Portal.
While in Google Chrome, click on the small yellow folder called “cs” in your bookmarks bar near the top (if you don’t see a bookmarks bar then hold down “Shift “Command” and “B” to make it visible). This folder has two links: one for accessing your email online (outlook.office.com), and one for accessing your Veracross portal.
-Click on outlook.office.com and sign in using your Cushman email address
-Click on Veracross and sign into your Veracross Portal
8. LOG INTO VERACROSS : Log in with your cushman email address.
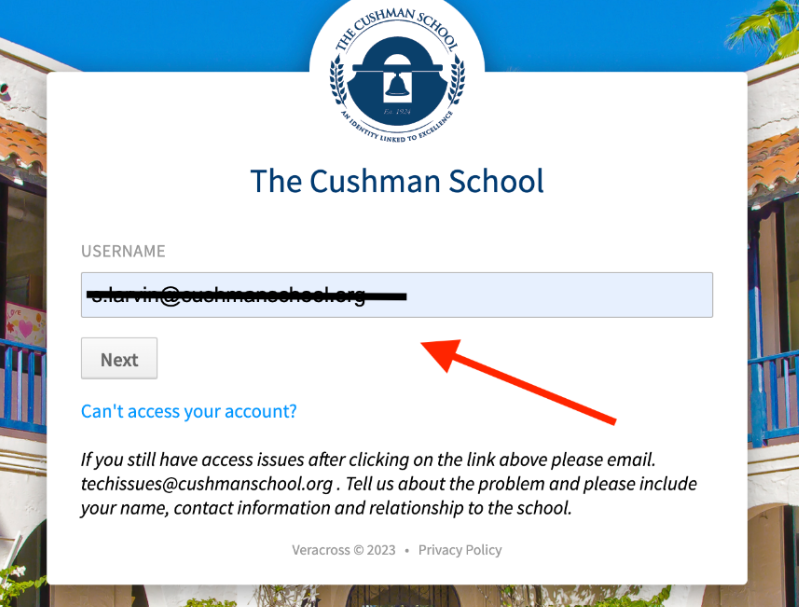
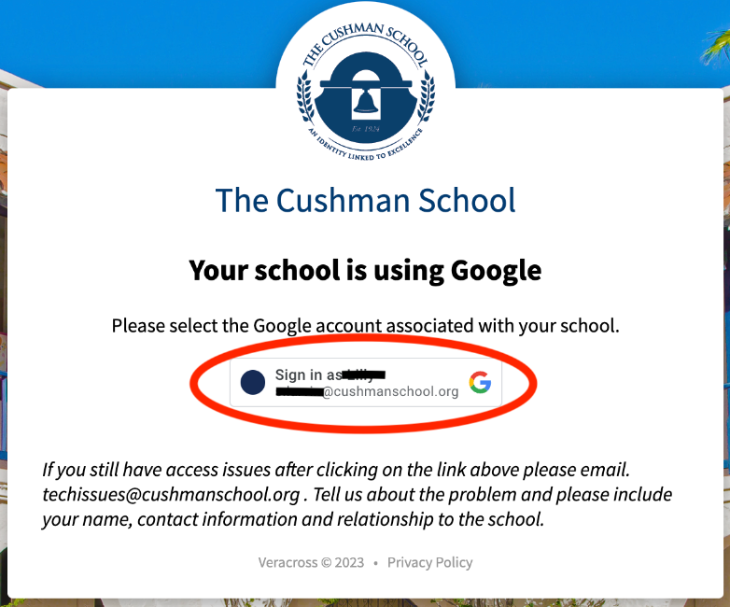
Select the Cushman Google account which should already be logged into from step 6.
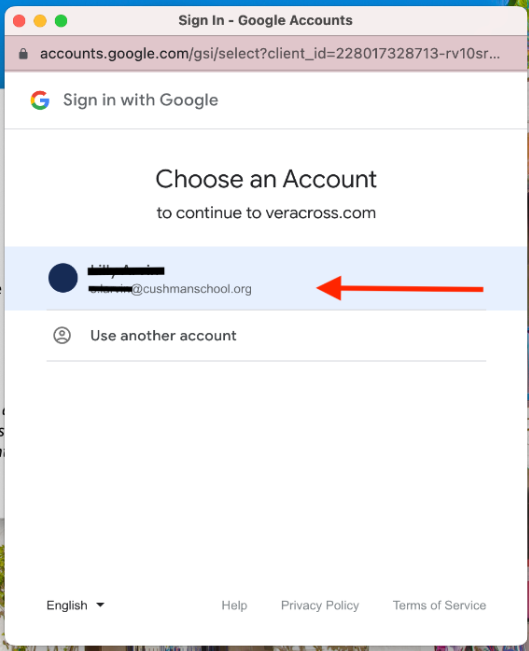
Make sure to select your Cushman Google account.
9. SETUP OUTLOOK AND LOGIN TO OFFICE: Locate the Outlook App in launchpad (tile icon) and open it. You will be prompted with a Welcome dialogue box asking to get started.
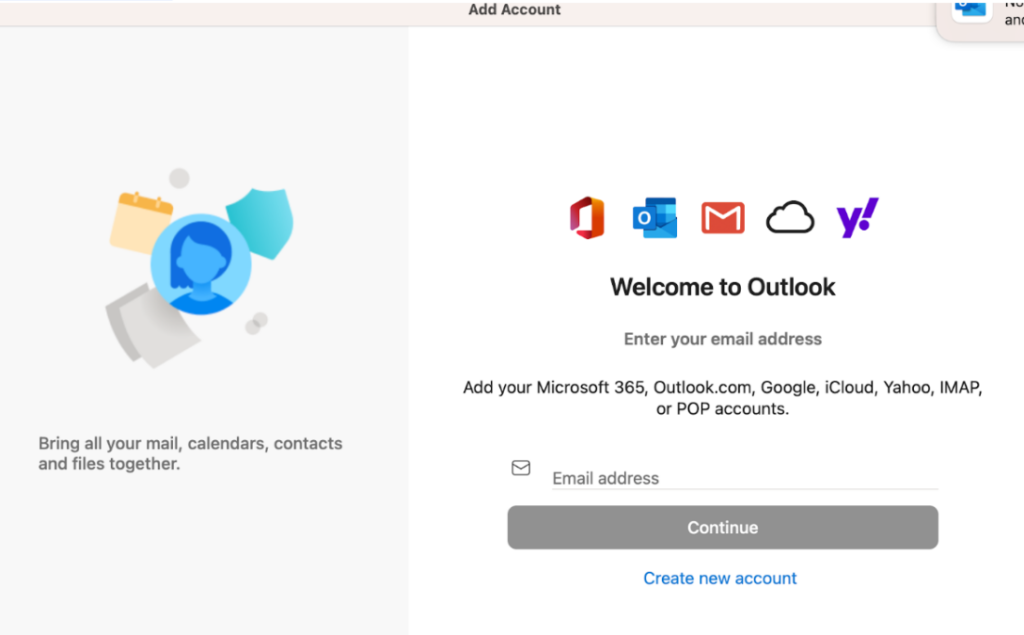
Enter your Cushman email and click continue
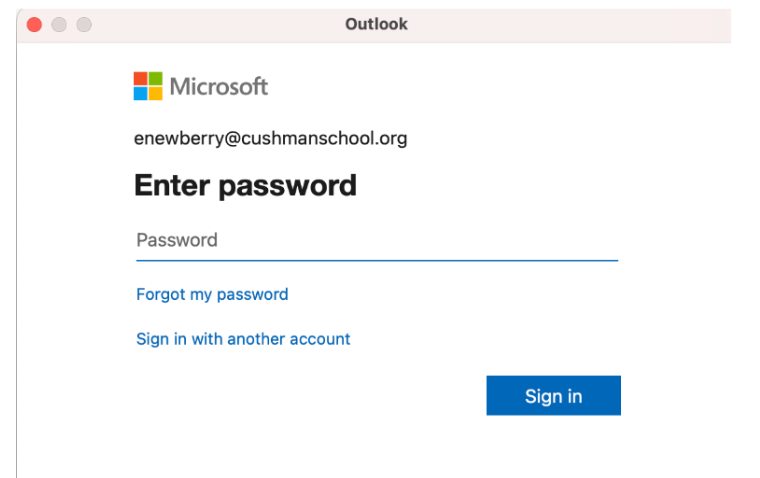
Enter your password and continue
10. Printing: please refer to this article to set up the follow-me printer on your device https://cushman-kb.com/docs/faculty-staff/communications/printing/